Rejecting a candidate
When a candidate is not the right fit, you can reject them from the pipeline. Their data is preserved so you can revisit them later if needed.
How to reject a candidate
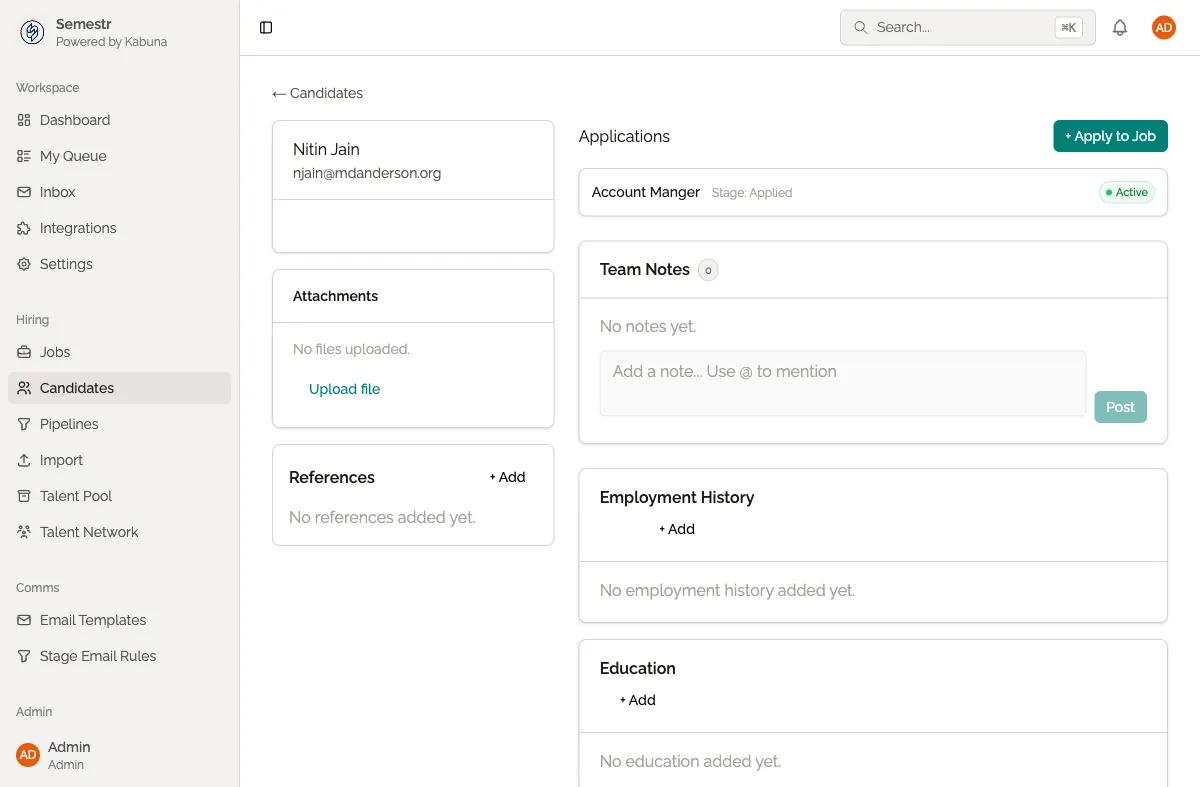
- Open the candidate’s profile.
- Click Reject (usually in the top-right area of the profile).
- Select a rejection reason from the dropdown. These reasons are configurable in your organisation’s settings.
- Optionally check Send rejection email to notify the candidate.
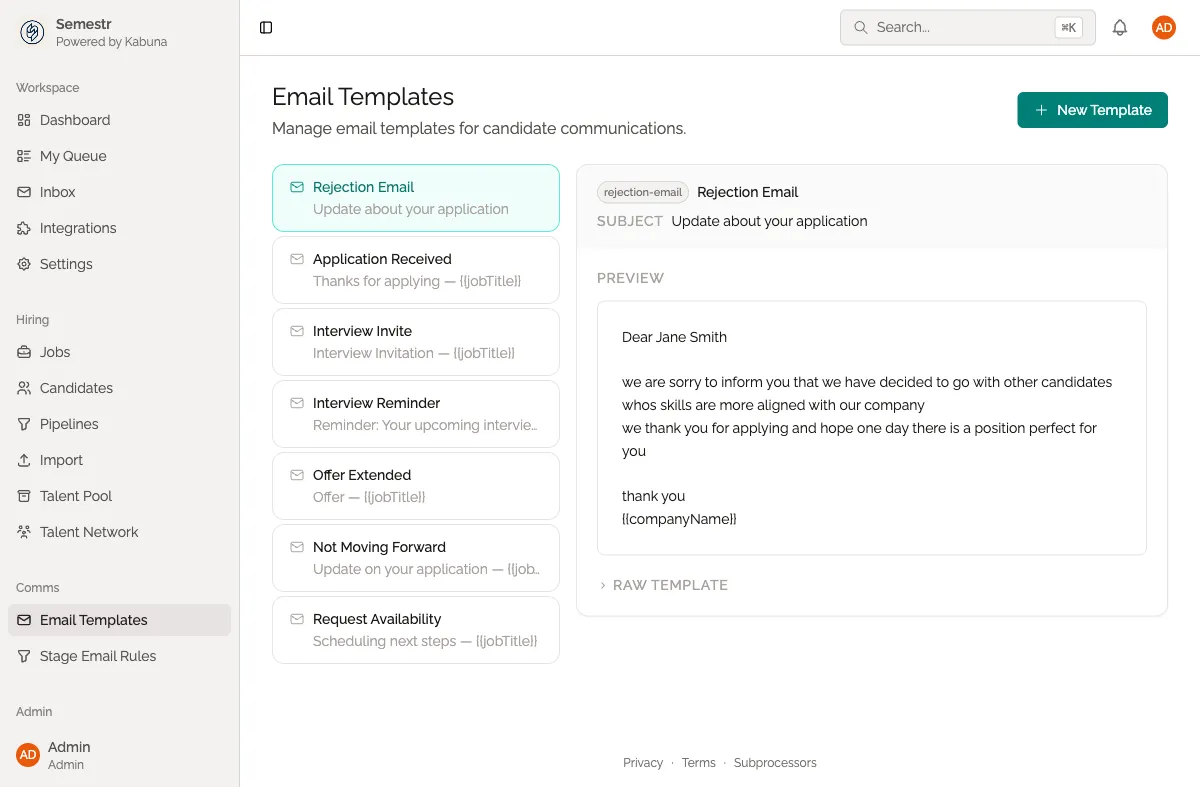
- If sending an email, choose a rejection email template or write a custom message.
- Click Confirm.
What happens when you reject a candidate
- The candidate is moved out of the active pipeline. They no longer appear in the kanban board by default.
- Their profile, history, feedback, and files are all kept. Nothing is deleted.
- The rejection is logged in the candidate’s activity timeline with the reason you selected.
- If you chose to send a rejection email, it is sent immediately and also logged in the timeline.
Rejection reasons
Your team can customise the list of rejection reasons in Settings. Common examples include:
- Not enough experience
- Skills mismatch
- Role filled
- Candidate withdrew
- Salary expectations
Having consistent reasons helps your team spot patterns and improve your hiring process over time.
Rejection email templates
Instead of writing a rejection email from scratch each time, you can set up templates in advance. Templates can include placeholders for the candidate’s name, the job title, and other details. See Setting up email templates for more.
Related
- Changed your mind? See Revisiting rejected candidates.
- Learn more about moving candidates through the pipeline.