Setting up email templates
Email templates save you time by letting you reuse common messages. Instead of writing the same email from scratch every time, you create a template once and use it whenever you need it.
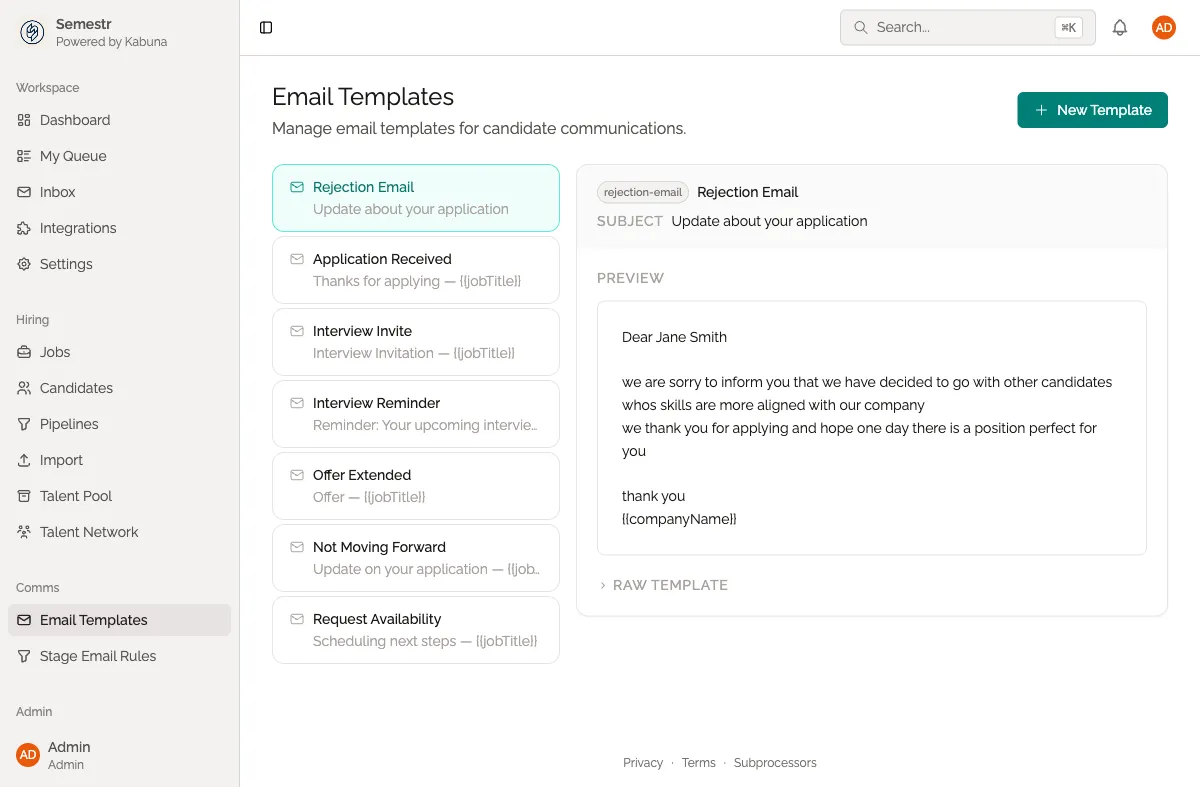
Creating a template
- Go to Settings > Email Templates.
- Click New Template.
- Give your template a name (this is just for your reference — candidates won’t see it).
- Enter a subject line.
- Write the email body.
- Click Save.
Using variables
Templates support variables that get replaced with real values when you send the email. Wrap variable names in double curly braces:
| Variable | What it inserts |
|---|---|
{{candidate_name}} | The candidate’s full name |
{{job_title}} | The title of the job they applied to |
{{sender_name}} | Your name (the person sending the email) |
For example, a template body might look like this:
Hi {{candidate_name}},
Thanks for applying for the {{job_title}} role. I'd love to set up a quick call to learn more about your experience.
Best,{{sender_name}}
Suggested templates to create
Here are some templates most teams find useful:
- Initial outreach — for reaching out to sourced candidates
- Interview confirmation — with date, time, and meeting details
- Rejection — a respectful note letting candidates know they won’t be moving forward
- Offer follow-up — checking in after sending an offer
Where templates are used
You can pick a template in two places:
- When sending an email to a candidate from their profile.
- When setting up stage email rules that send emails automatically when a candidate moves to a specific stage.
Editing and deleting templates
- Go to Settings > Email Templates.
- Click on the template you want to change.
- Make your edits and click Save, or click Delete to remove it.
Related pages
- Sending emails to candidates — use your templates when emailing candidates
- How email threads are logged