Setting up pipeline stages
A pipeline template defines the hiring stages every candidate moves through for a job — from application to hire. You can create different templates for different types of roles.
How pipeline templates work
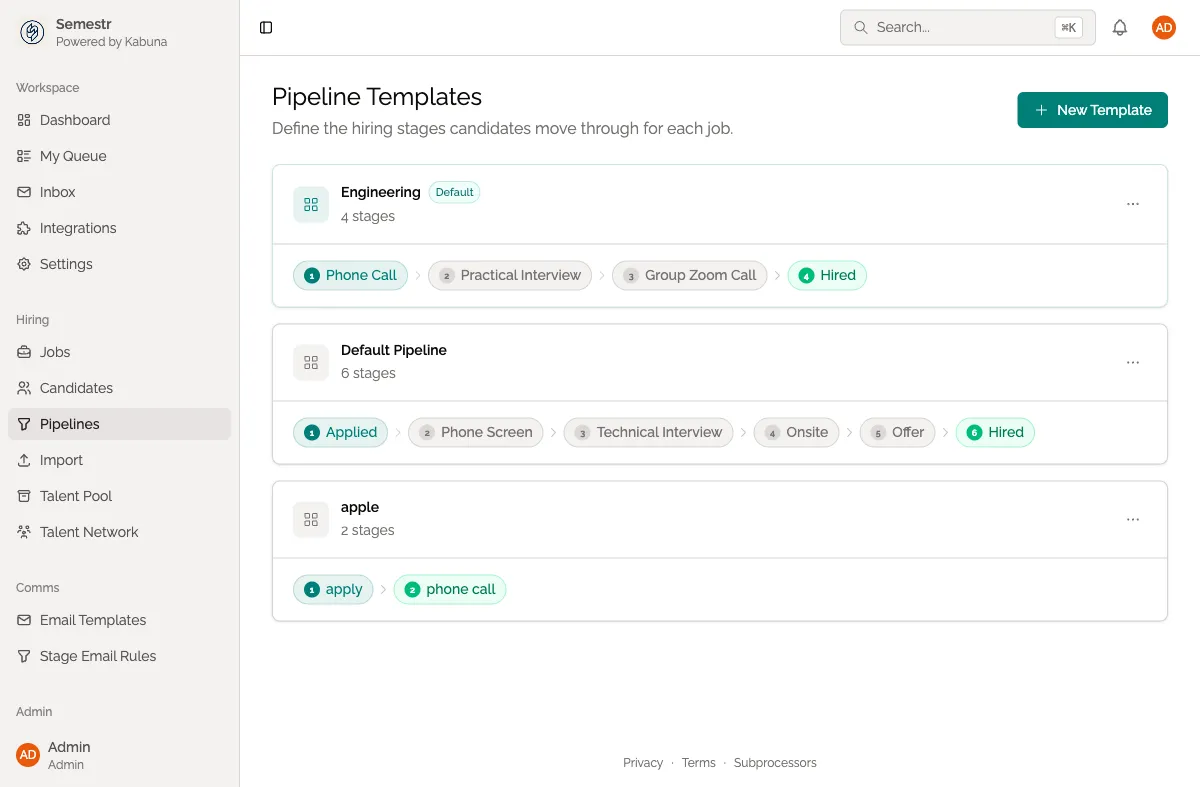
Each template is an ordered list of stages. When a candidate applies to a job that uses the template, they start at the first stage and move forward as your team progresses them through the process.
A typical pipeline looks like this:
- Applied
- Phone Screen
- Interview
- Offer
- Hired
Kabuna comes with a default template that includes these stages. You can edit it or create new ones.
Create a pipeline template
- Go to Settings > Pipelines.
- Click New Template.
- Give the template a name (e.g. “Engineering Hiring”, “Design Hiring”, “Executive Search”).
- Add your stages in order. For each stage, enter a name that’s clear to your team.
- Drag stages to reorder them if needed.
- Click Save.
Edit an existing template
- Go to Settings > Pipelines.
- Click on the template you want to change.
- Add, remove, rename, or reorder stages.
- Click Save.
Editing a template affects new jobs that use it going forward. Jobs that already use the template keep their current stages unless you update them individually.
Tips for good pipeline design
- Keep stage names short and descriptive — your team will see them on the Kanban board.
- Don’t create too many stages. Five to seven is a good range for most roles.
- Use separate templates when hiring processes are genuinely different (e.g. engineering roles with a take-home test vs. sales roles with a demo presentation).
What’s next
- Customise stages for a specific job without changing the template.
- Create a new job and pick a template.